- 1. System instruction
- Linkorder: The App installed on the table helps the staff to accept the order from the customers, or let the customer make the order by themselves. All orders from Linkorder are connected with the reception and LinkPOS system.
- 2. App Language setting
- Select a table or room
- 3. Ordering
- 4. App Setting
- 5. Other Setting
Version:1.3
Issued Date: 27, Jan 2022
Contents
1. System instruction………………………………………………………………………………… 1
2. App Language Setting…………………………………………………………………………….. 2
3. Select a table or room…………………………………………………………………………. 3
4. Ordering………………………………………………………………………………………………….. 5
5. App Setting…………………………………………………………………………………………… 12
6. Other Setting……………………………………………………………………………………….. 19
1. System instruction #
Linkorder: The App installed on the table helps the staff to accept the order from the customers, or let the customer make the order by themselves. All orders from Linkorder are connected with the reception and LinkPOS system. #

Linkorder Mainpage

The main function of the App:
1App language setting
2Select a table or room
3Ordering
4App Setting
5Other Setting
2. App Language setting #
Click 1 Icon, to view the available language options.

Currently, the App supports Chinese and English Only.
Select a table or room #
Before making an order, the staff need to select an available table or room for our customers. Without selecting a table or room, the App will display “NO table”on the screen .

Press “No table” for 3 sec to enter the page of “Select Table”
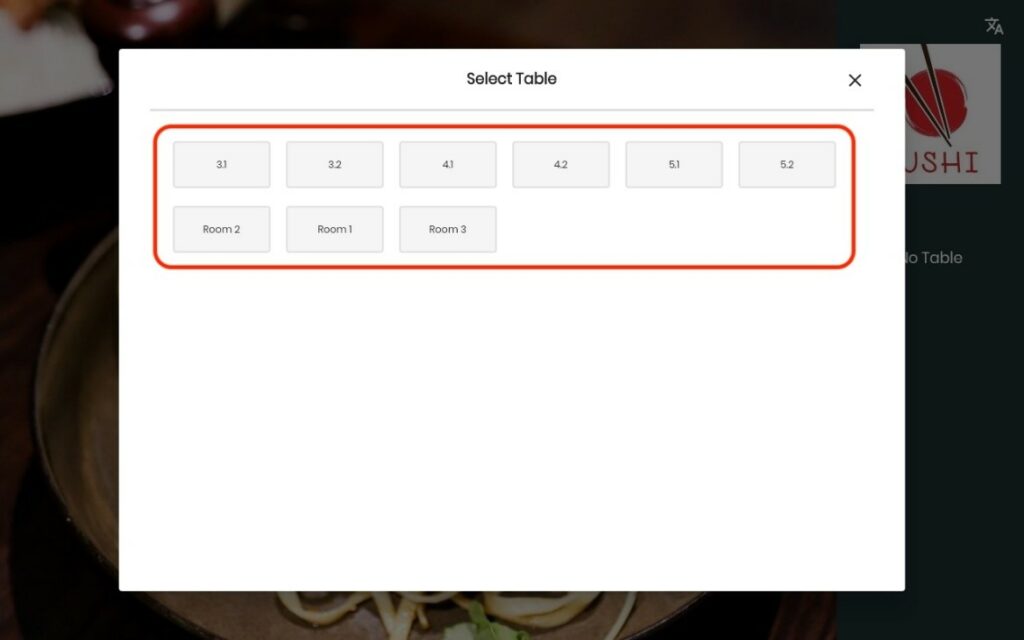
Click the selected table icon to finish.
If the table device is fixed to a table or a room, the staff always do not need to select a table or room. We can change the App setting, to connect the table to the table or room. For the details please check 4App Setting

The App main page will display the selected table or room, if need to change the table, press the table number for 3 sec, to enter the table setting and select a new table.
3. Ordering #
After selecting a table, we can click “Order” to start ordering.

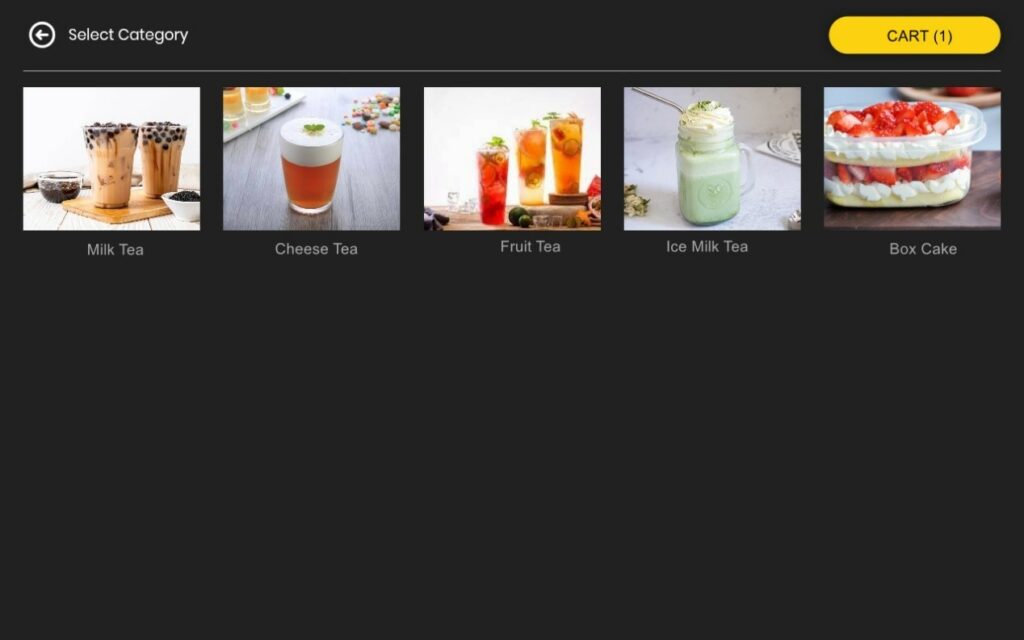
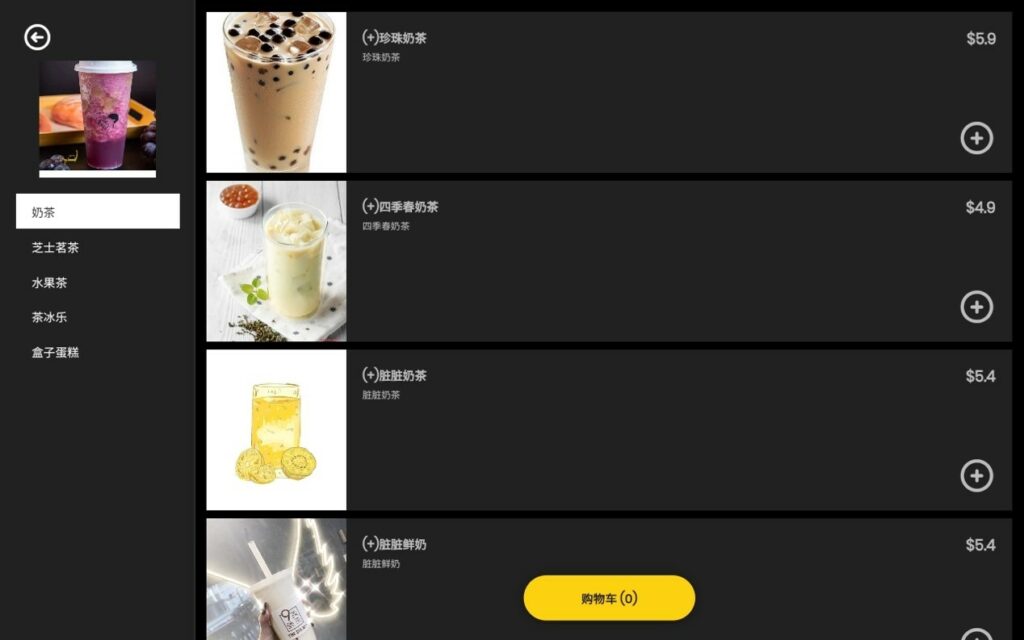
Enter the ordering page, we can see the product catalogues on the left side and the products on the right side.
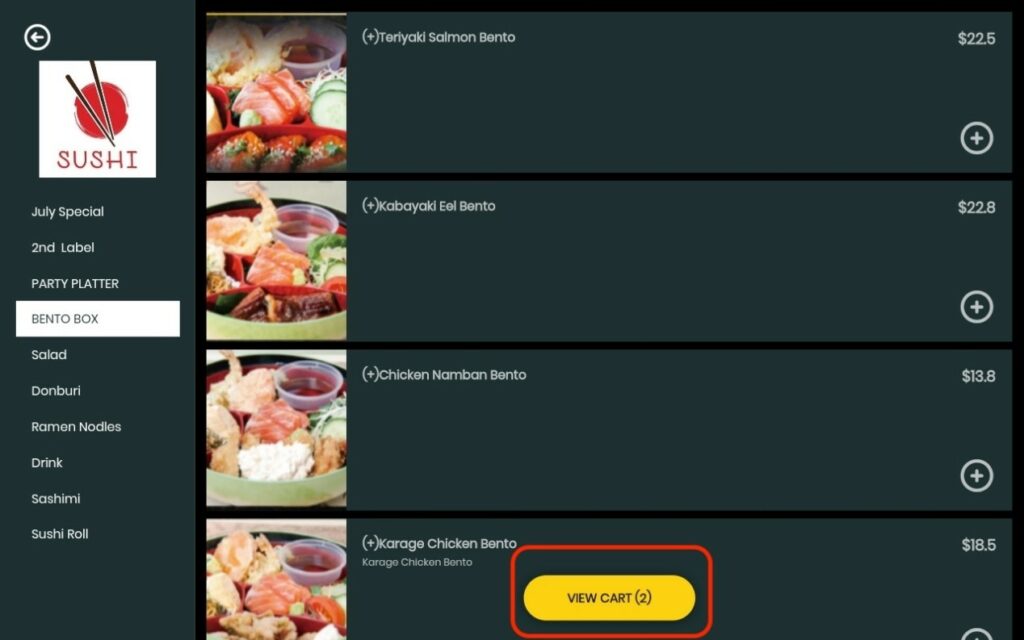
Click the catalogue to view and add the products to the cart.
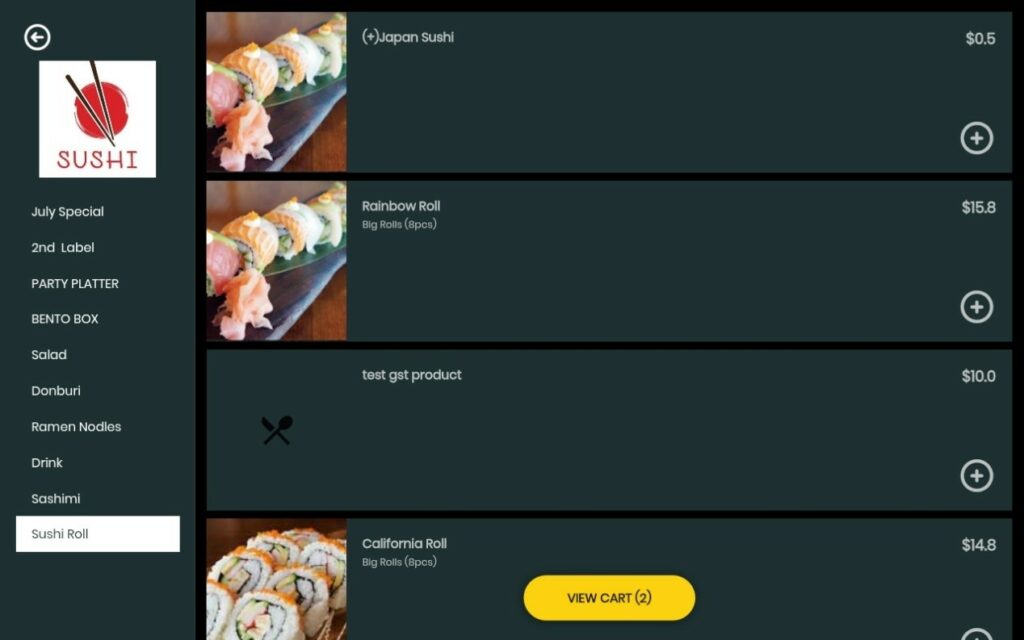
There will be some products with a symbol (+), which means we need to do a further selection.
Click(+), to find more details and options. (Quantity, flavour, cooking method etc)
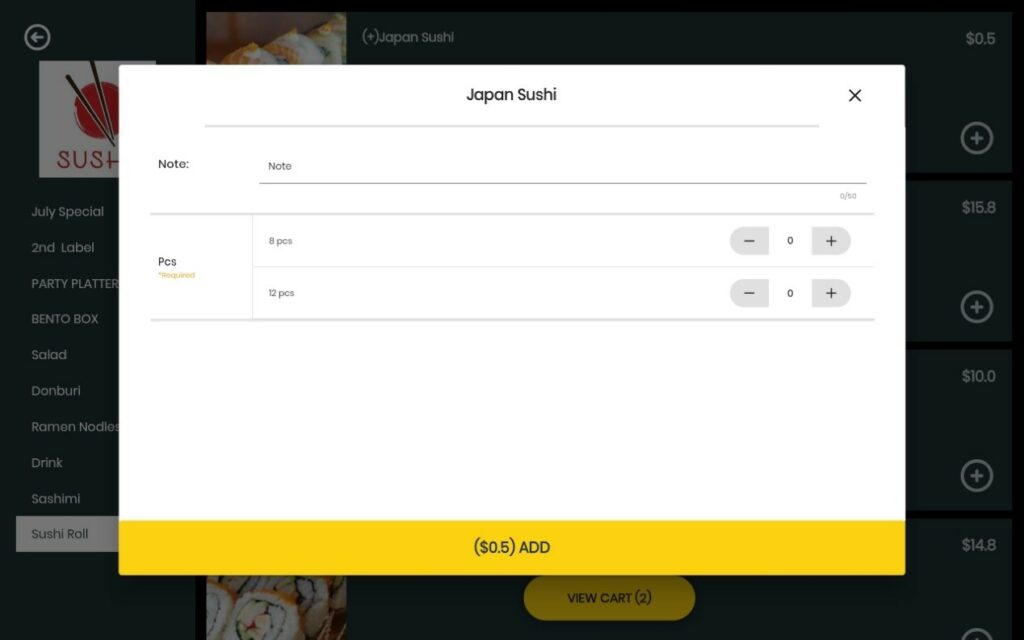
Choose the “+” to add a quantity of the product and click the “ADD” to add items to the cart. Finally, click the “Place Order” to finalize the order.
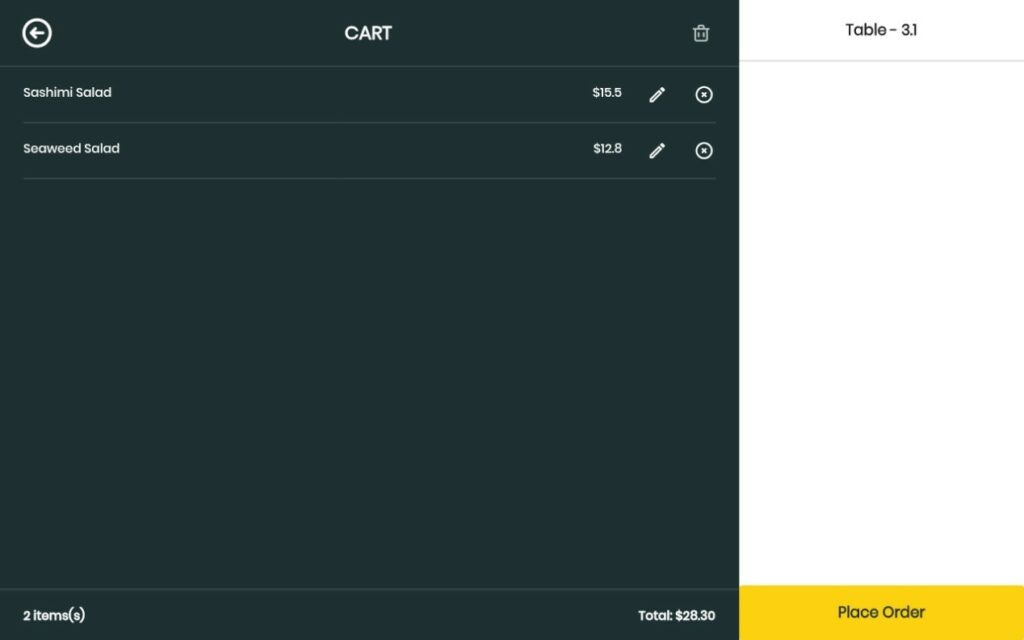
To view the details of an order by clicking the cart.
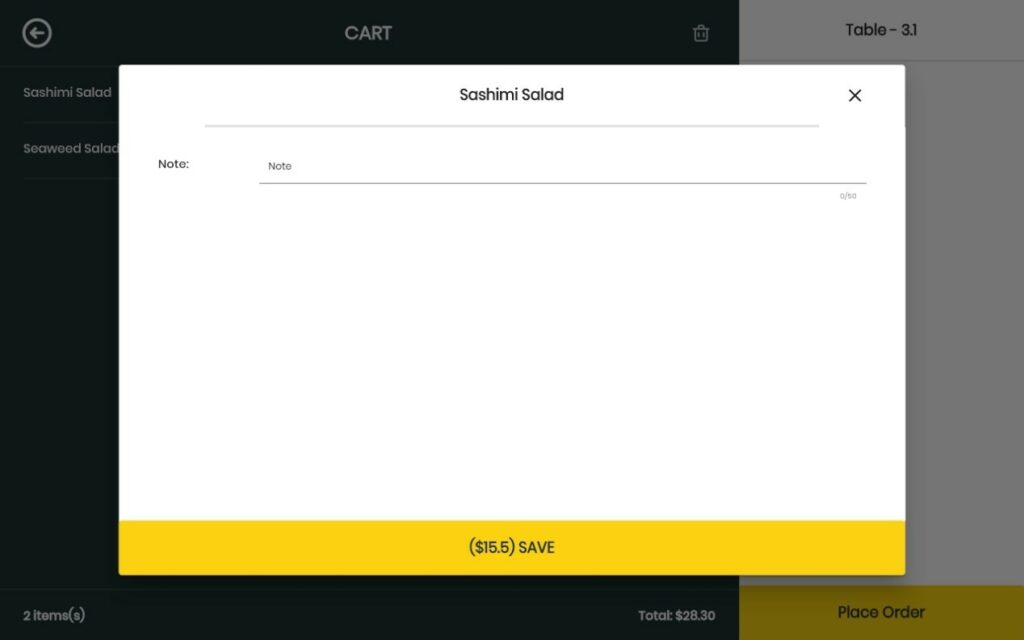
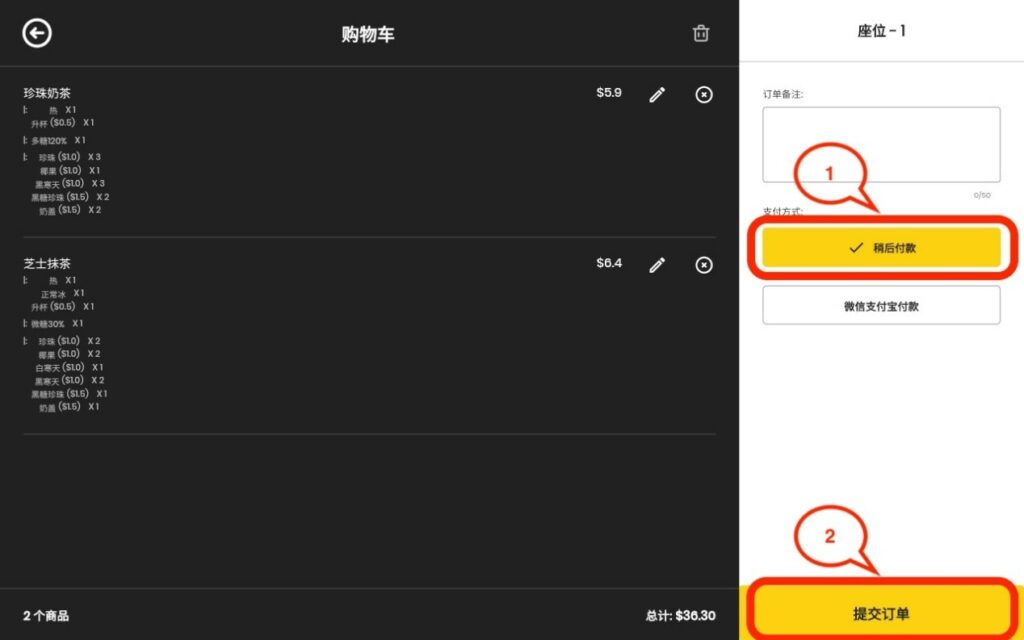
On the page of the details of an order, click the 1 to make a comment, or click the2 to comment. Choose the3 to delete the all items, click the 4 to delete a single item.
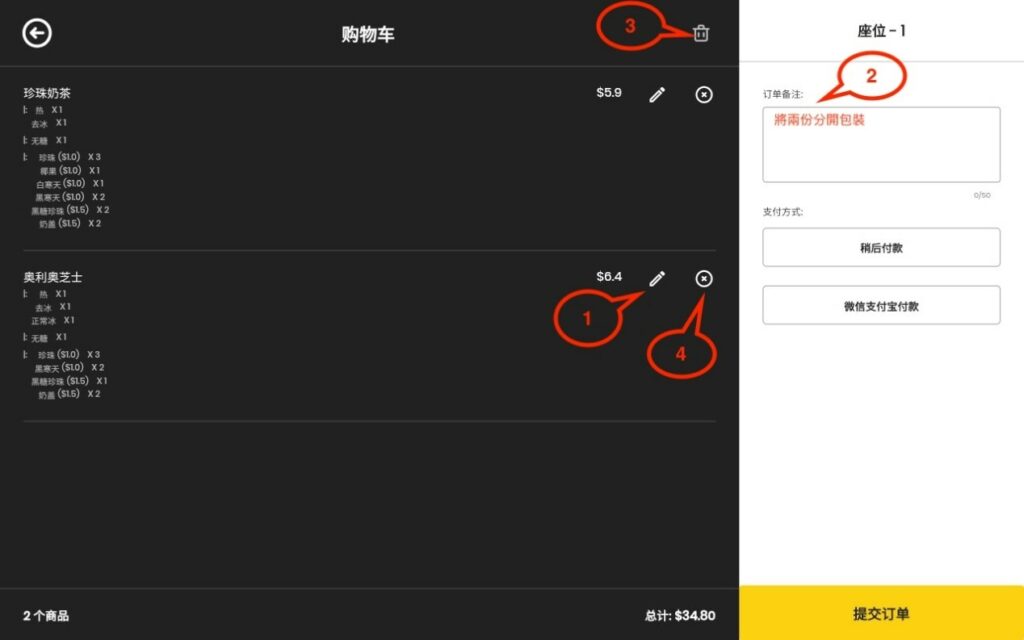
Confirm the items and place the order, then proceed to the payment method. Currently, we provide several types of payments, “Pay Later” and “Wechat/Alipay”. [The user can choose the card in the App Setting]。
If the customers choose “Pay later”, click the “Place Order” to complete the order.
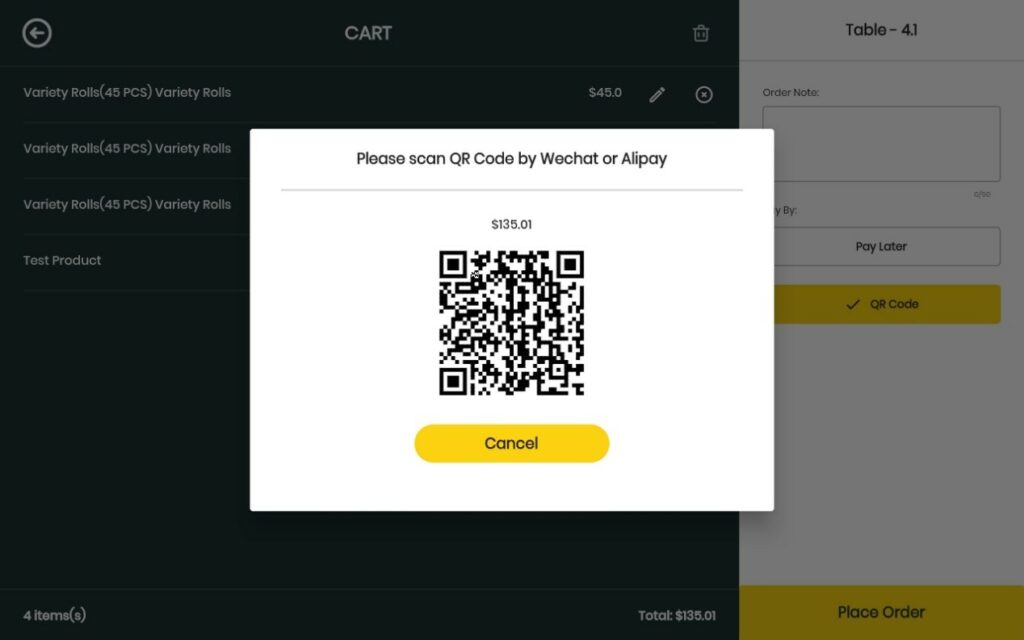
If choose “Wechat/Alipay”, the system will generate a payment QR Cod, and the customers can scan the code to pay the order.
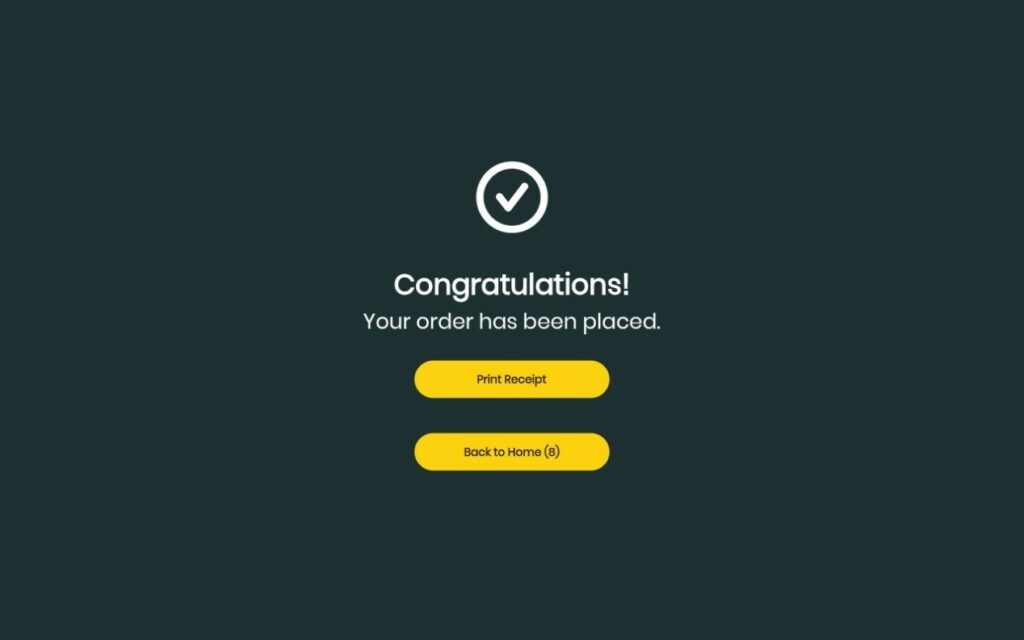
Finally, the system will print out the receipt and back to the main menu.
4. App Setting #
Press4 Icon for 3 sec to enter the App Setting.

Setting Page and Options
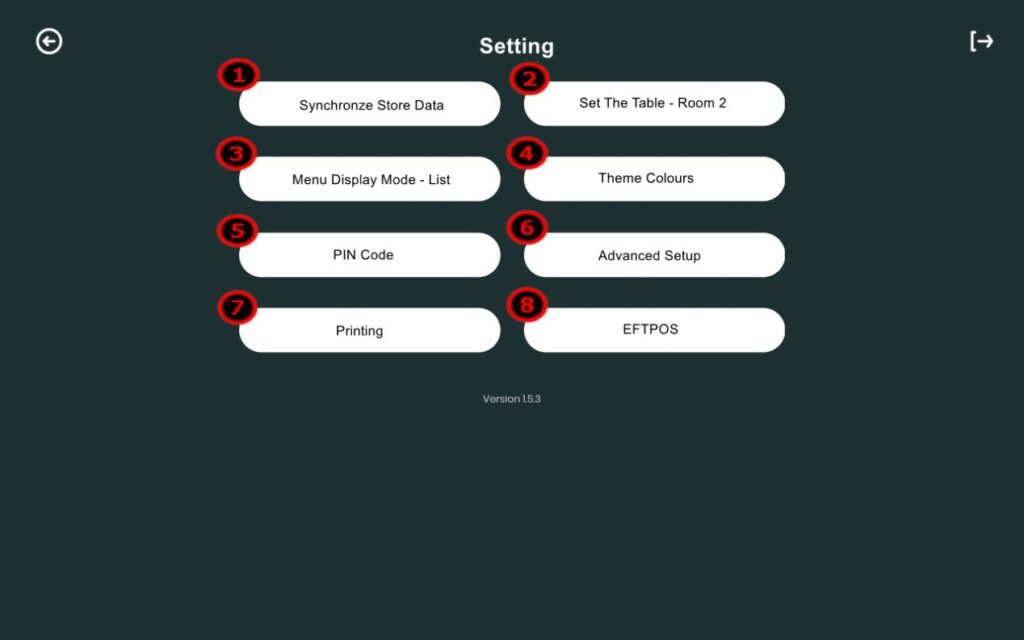
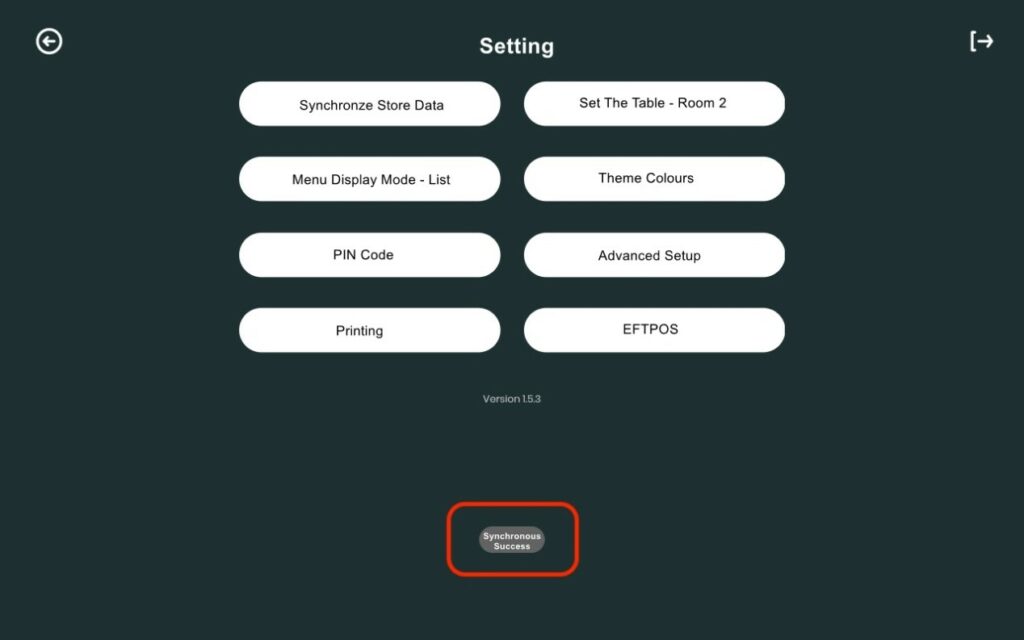
1 After the App Setting, manually Click “Synchronize” to update the shop information and setting. The system screen display “Succeed” to remind the user of a successful update.
2 Table Number Pre-set: Set up a tablet device connecting to a fixed table or room.
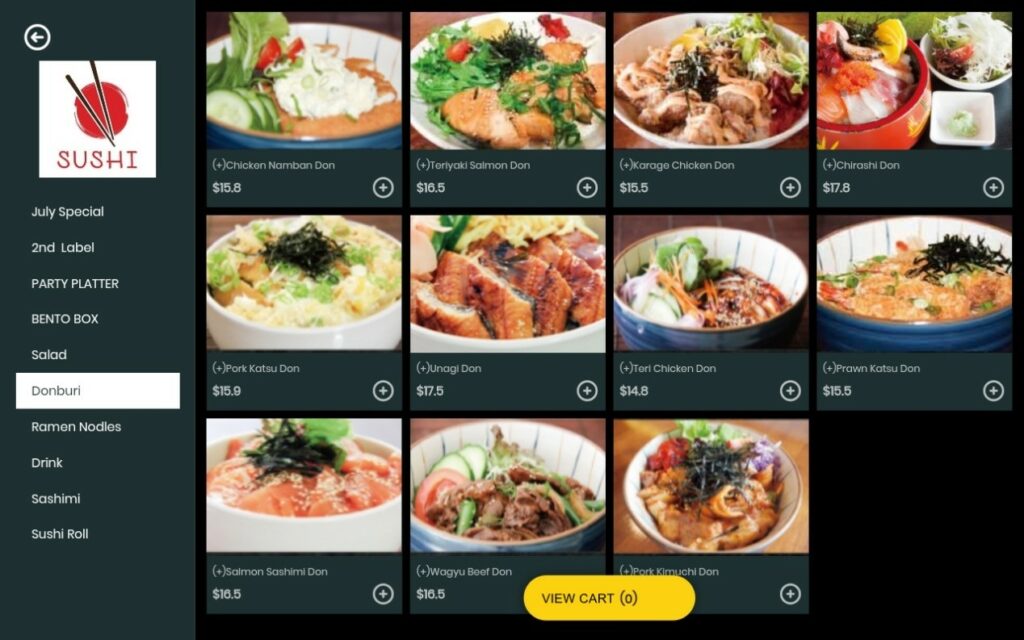
3 Set up the displaying type of menu: Grid and List.

Grid Type:
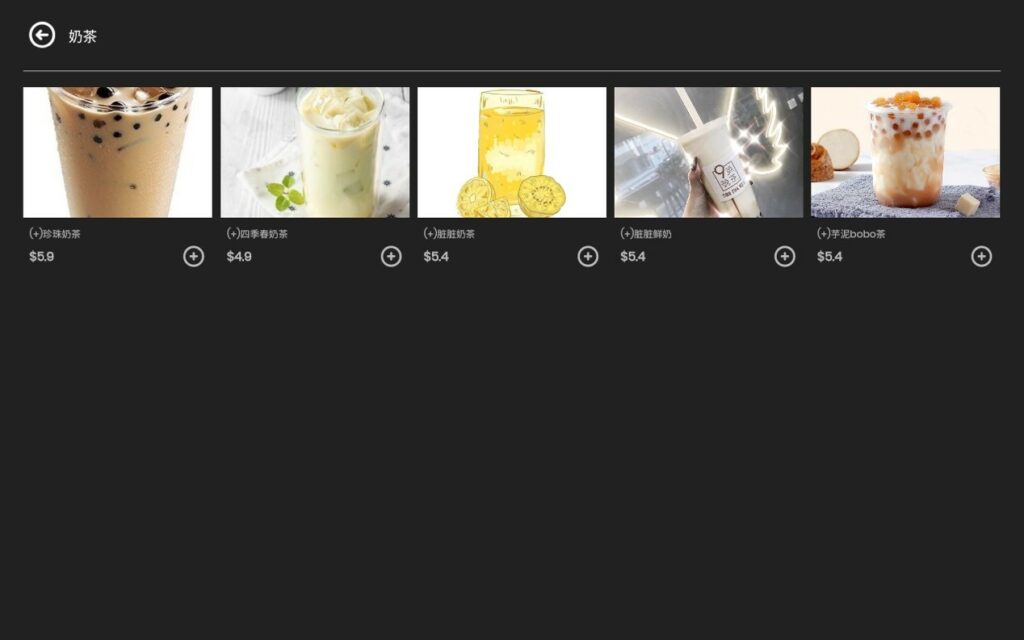
List Type:
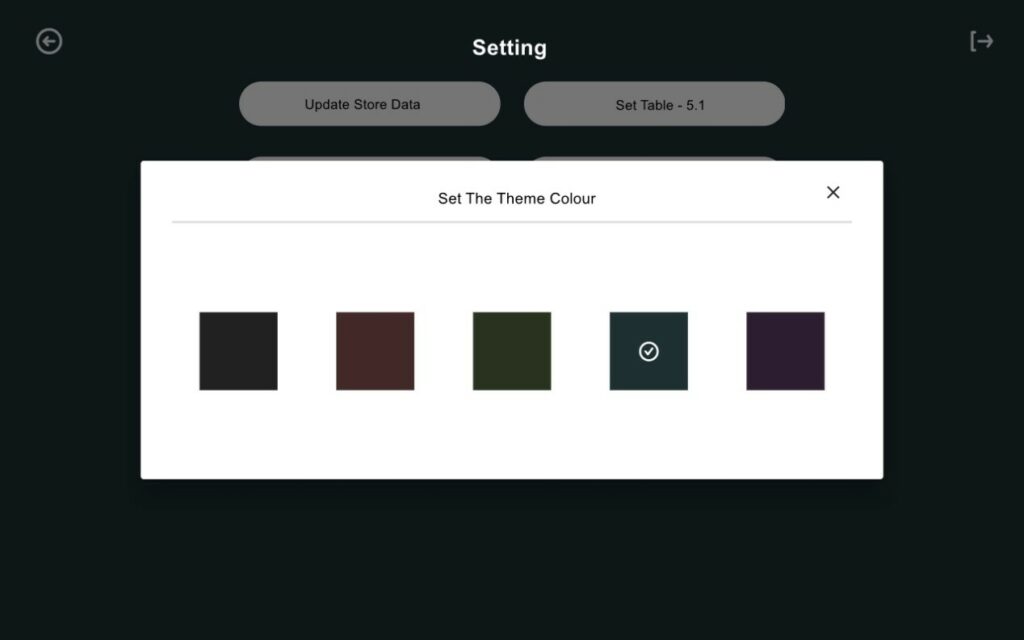
4App Theme Colour Setting:
5 App Pin Code Setting. The user needs to input the Pin Code to activate the tablet and enter the App Setting or change a table number.
The function is used to restrict the customers’ authority when t a tablet is fixed to a table or room. Press the Shop Icon for 3 Sec to change the App Setting. The user needs the Pin Code to enter the Table management or App Setting.

6App Advance Setting:
6-1 Automatically clean the table number after payment. The staff need to select a new table for the next service.
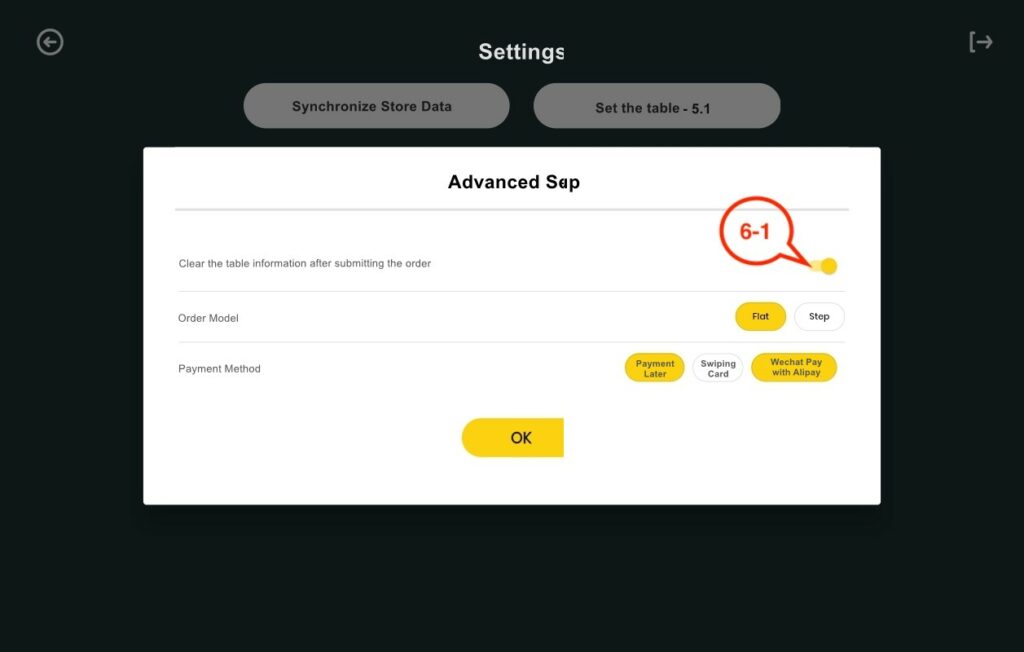
The Function is used to avoid the staff forget to reset the table and count the current payment to the last service

6-2 Ordering Process Mode: Flat & Step:
Step Mode Details Check Part 4
Select Flat Mode: Menu will display as below.
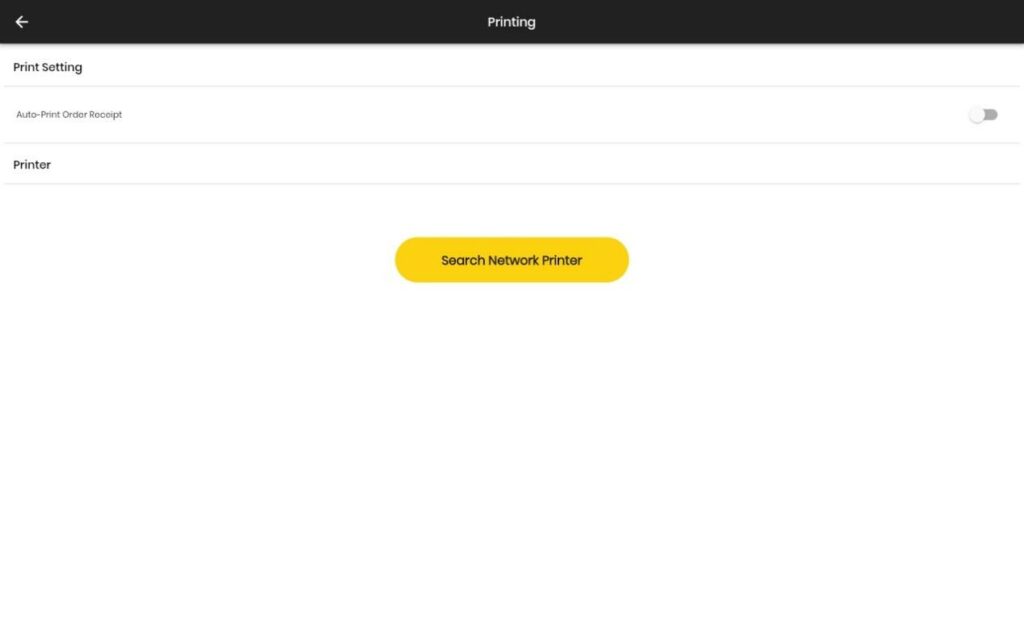
7 Print Setting: Set up the printer, and print a ticket. (Please do not hesitate to contact us for more details.)
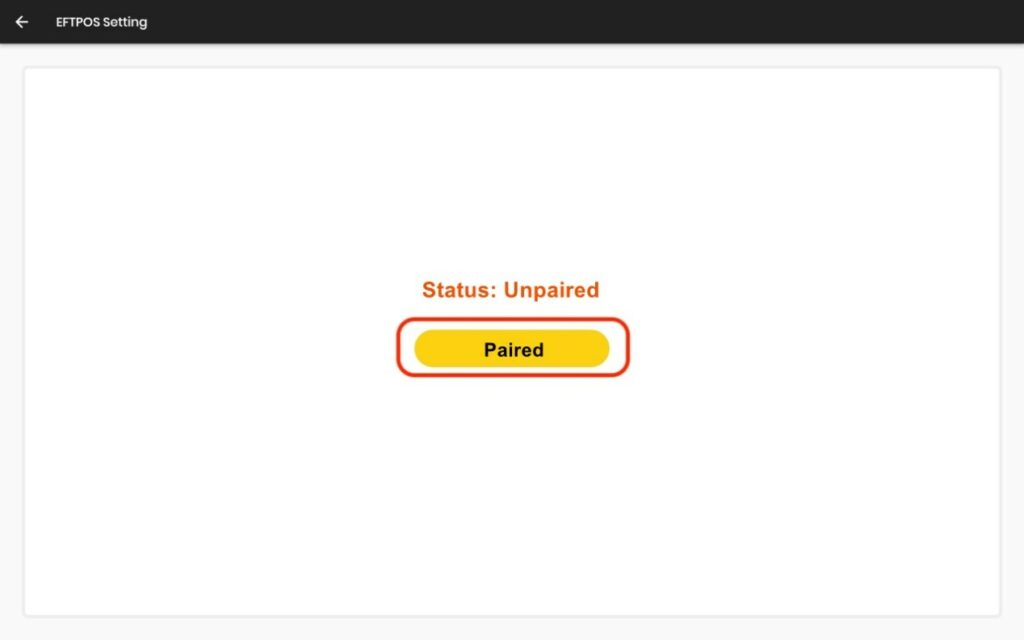
8 EFTPOS Setting and connecting the EFTPOS. (Please do not hesitate to contact us for more details.)
5. Other Setting #
The customers can click the “Call Service” Icon to require the service.:

Review the “Ordered” & unpaid Food to check the table number:

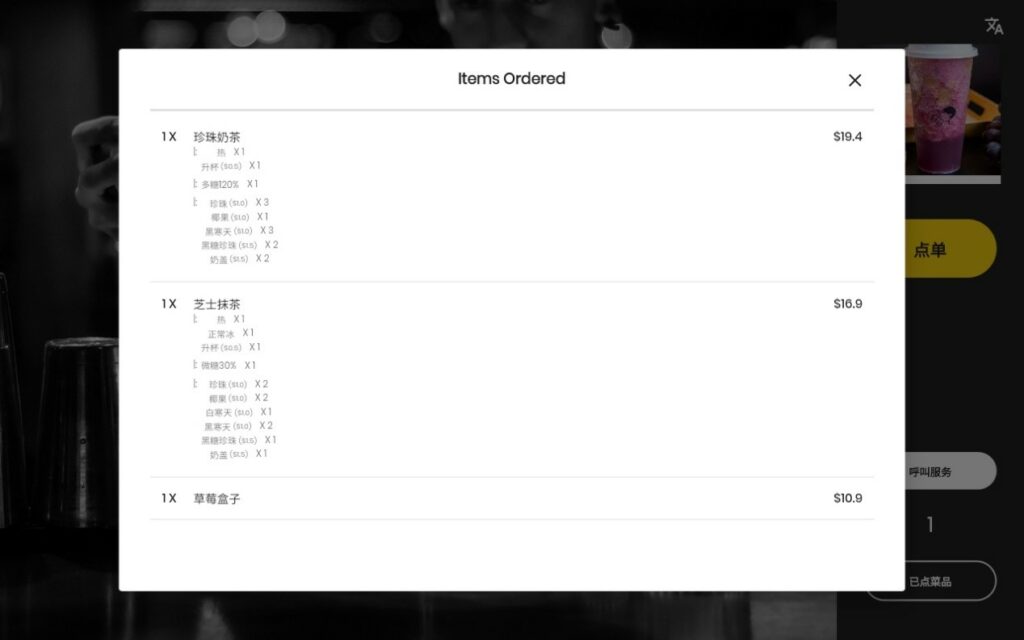
The table order list will reset after finalising the payment.


