Basic information #
Main settings: Products’ name, price, images.
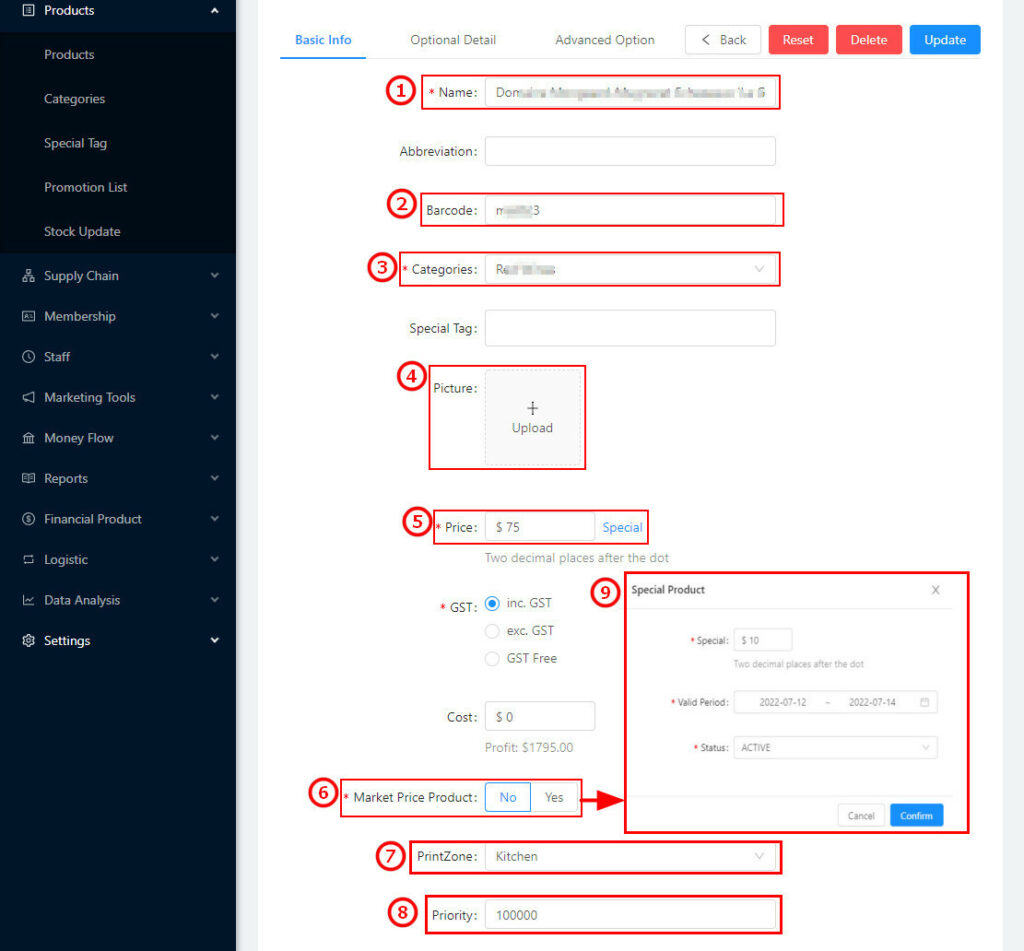
(1) ①Input a name, left Red * means the user cannot keep it empty here.
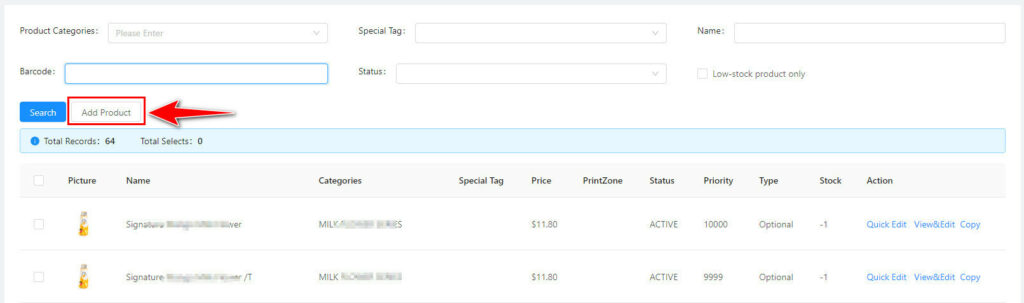
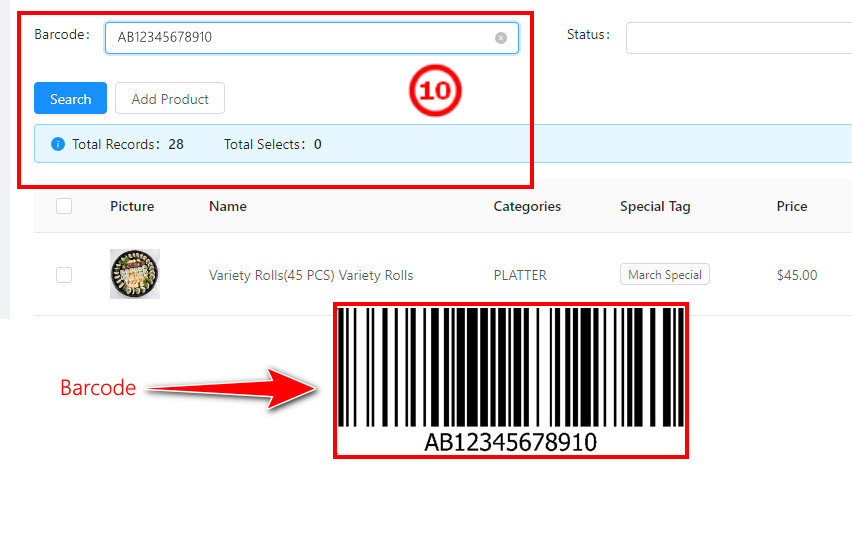
(2) Barcode is not a must-input option. If the user uses a barcode scanner, input a barcode number in ②. And the LinkPos system also can use the barcode to search the products (As ⑩)
(3) Choose the category for this product in ③
(4) Click ”+”(④) to upload the product picture. Suggested image quality 400*200 pixel, length: width – 2:1.
(5) Input price in ⑤, maximum to the cent.
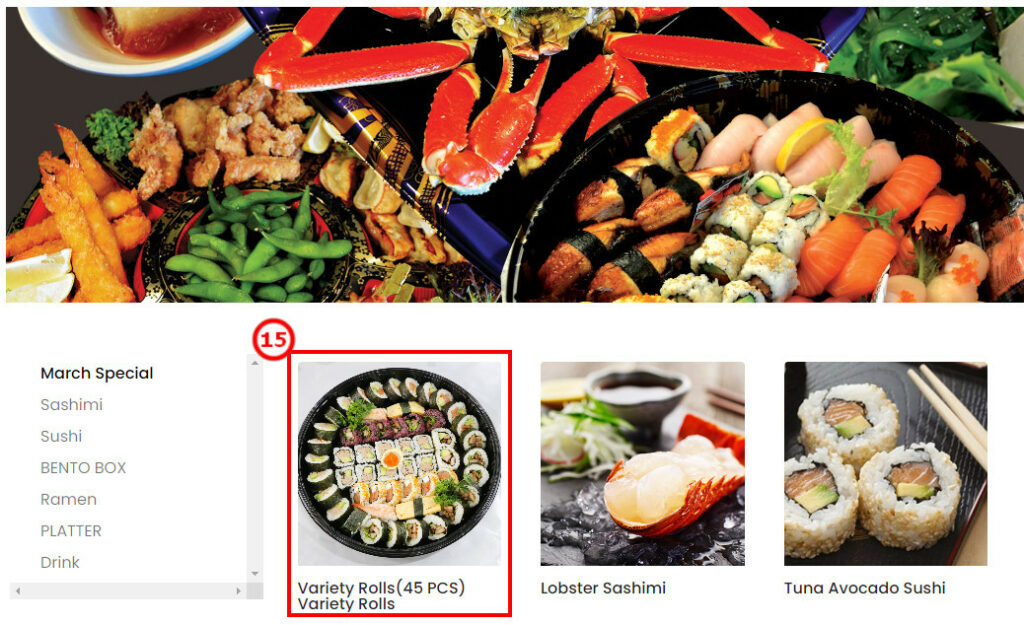
(6) To edit the existing products, click the right “special price” button beside the normal price⑪, to reduce the original price, the special price must be lower than the original price. (As⑫). An error will occur if the special price is higher than the original price. Right-click the calendar on the right side (As⑬) to activate the special price during the pre-set date & time. (As⑭) choose “Active”, click confirm and update, and then the special price will be activated on the POS, during the pre-set date & time. (As⑮); Choose “Inactive”, and the special price will not be activated on the POS, during the chosen period.
(7) The unstable price can be set as a marketing price (As⑥), and choose the quantity accounting method. (As⑨) Choose “kilogram or each”, confirm to finish the setting
(8) Click⑦ to choose the printing area and it will automatically print out the tickets when the payment is finished.
(9) Click⑧ to set the priority of products displayed on the system, the higher numbers will be top.